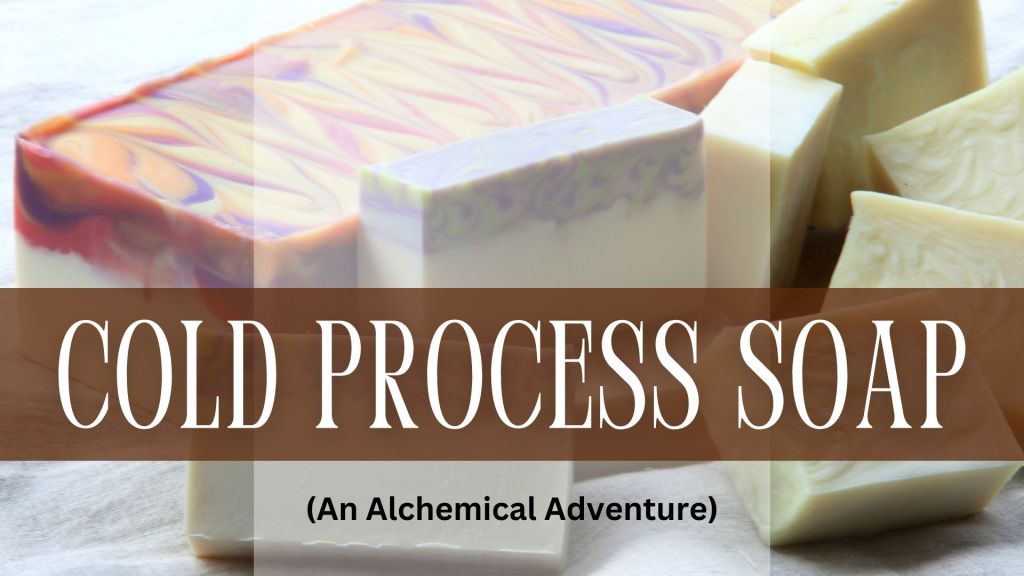
Selene and I have been wanting to make soap forever. Over the holidays, she received several soap-related gifts, so we took up the opportunity and got to crafting!
Overview
There’s lots of different ways to make soap these days, including “Melt and Pour” and “Hot Process,” but today we’re going to focus on the more traditional “Cold Process” method.
When you make cold process soap, you combine Lye (Sodium Hydroxide) with fats or oils, which starts a chemical reaction that produces soap and glycerin as byproducts. The actual process of saponification is usually finished within 48 hours, but the soap is then set aside and left to cure for 4 – 6 weeks. During the curing process, water continues to evaporate, which makes for a harder, more gentle soap.
It’s called “cold process” because it doesn’t require any external heat. But don’t let the name fool you… It still gets pretty hot! When you mix lye with water, it causes an exothermic reaction that can get up to 200 degrees Fahrenheit. Furthermore, mixing the lye water with triglycerides like fats or oils also produces heat. Consider this your first warning… these are dangerous chemicals.
You’ve seen Fight Club, right? That was cold process soap. And the burns on their hands were from lye.
Myth or History
Wait, wait, let me break the first two rules and talk even more about Fight Club… because it presents an interesting account of the origins of soap making.
Tyler Durden: Now, ancient people found their clothes got cleaner if they washed them at a certain spot in the river. You know why?
Narrator: No.
Tyler Durden: Human sacrifices were once made on the hills above this river. Bodies burnt, water speeded through the wood ashes to create lye. [holds up a bottle]
Tyler Durden: This is lye – the crucial ingredient. The lye combined with the melted fat of the bodies, till a thick white soapy discharge crept into the river. May I see your hand, please?
Is that true? No. But it’s a fantastic story.
It’s based on the Roman legend of Mount Sapo. According to the legend, animal sacrifices were made in a temple on the top of this very mountain. When it rained, all of the lovely byproducts of burnt offerings were inevitably washed down into a nearby river (perhaps the river Tibus), including wood ash and animal fats or oils. People did laundry in the same river and noticed that things got a lot cleaner in that particular spot… and thus, soap was discovered and named for the mountain.
Water and ash can combine to create an alkaline solution… and if you mix that with oils, you would have the basic building blocks for soap; however, this story is also false. And I’m sorry to break it to you, but there’s no real Mount Sapo, either. But it is likewise a fantastic story, right? So fantastic, in fact, that I found many soap manufacturers list it on their website as a historical fact.
In reality, soap was probably discovered by accident in the ancient world, but we don’t have a true account of exactly how this took place. Proto-soaps are attested by various historical records found in Ancient Babylon as far back as 2800 BCE, for example, and in Ancient Egypt around 1500 BCE. Significant advancements were made to the process during Medieval times and the Renaissance, but full-scale soap production took a leap forward during the Industrial Revolution when a man named Nicholas LeBlanc developed a cheap process for making soda ash.
So now you know some history, but don’t take my word for it. I wasn’t actually there.
Materials and Equipment Needed
If you’re making soap at home, you will need some basic equipment.
- A lye-resistant container (stainless steel, ceramic, polypropylene, etc)
- Mixing bowls
- Molds
- Immersion blender
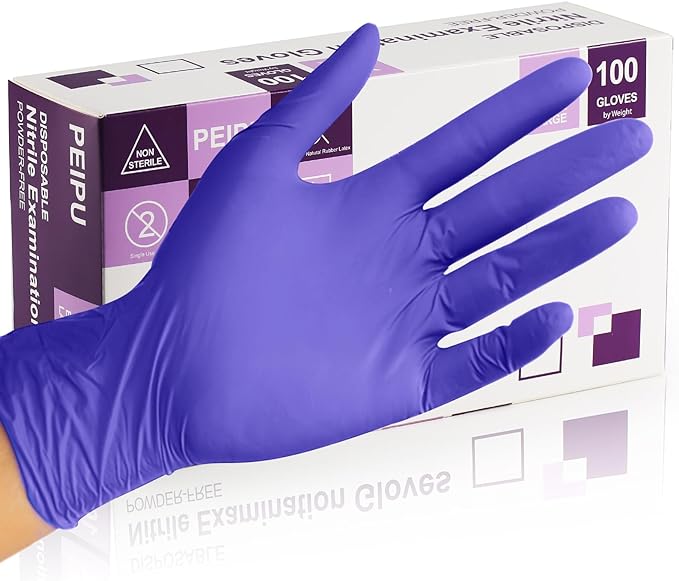
- Gloves


And then you’ll need ingredients! A typical cold process soap recipe might involve things like:
- Lye
- Soft Oils (things that are liquid at room temp, like olive oil or almond oil)
- Hard Oils (things that are solid at room temp, like coconut oil or shea butter)
- Essential Oils
- Fragrances
- Water
- Herbs
Remember guys… Lye (NaOH) is a very dangerous chemical. It will burn you. Wear protective safety equipment.
Want to hear about future posts? Subscribe to get notifications delivered straight to your inbox.
A Simple Recipe
Now… you can’t just combine the ingredients all willy-nilly… you’ll need an actual recipe.
Here’s a basic one:
- Coconut Oil – 12 oz
- Olive Oil – 16 oz
- Almond Oil – 4 oz
- Lye – 4.5 oz
- Water – 12 oz
The types of oils you use will determine how hard, lathery, and cleansing your soap is, but perhaps even more important than this is making sure you use the correct amount of lye. If there’s too much lye in the reaction, your soap might end up burning you instead of cleaning you.
You can use an online tool, like soapcalc.net, to make sure that you’ve got everything balanced correctly. Warning: if you’ve come this far, you are on the precipice of an endless soap making rabbit hole. Tread with caution.
The Process
Here is a brief overview of what the process looks like… along with some pictures that I took along the way.
The first thing that you’ll probably want to do is mix your lye water solution. Why? Because it gets really hot and you need to let it cool down significantly before you use it. This reaction does give off fumes — it’s something that you should do in a well-ventilated area… or perhaps outside.

Lye water will naturally come out pretty much clear, but I brewed a tea, strained out the leaves, and added powdered lye to the infusion. It turned everything a really nasty blackish color for a while, then it settled to a deep red.
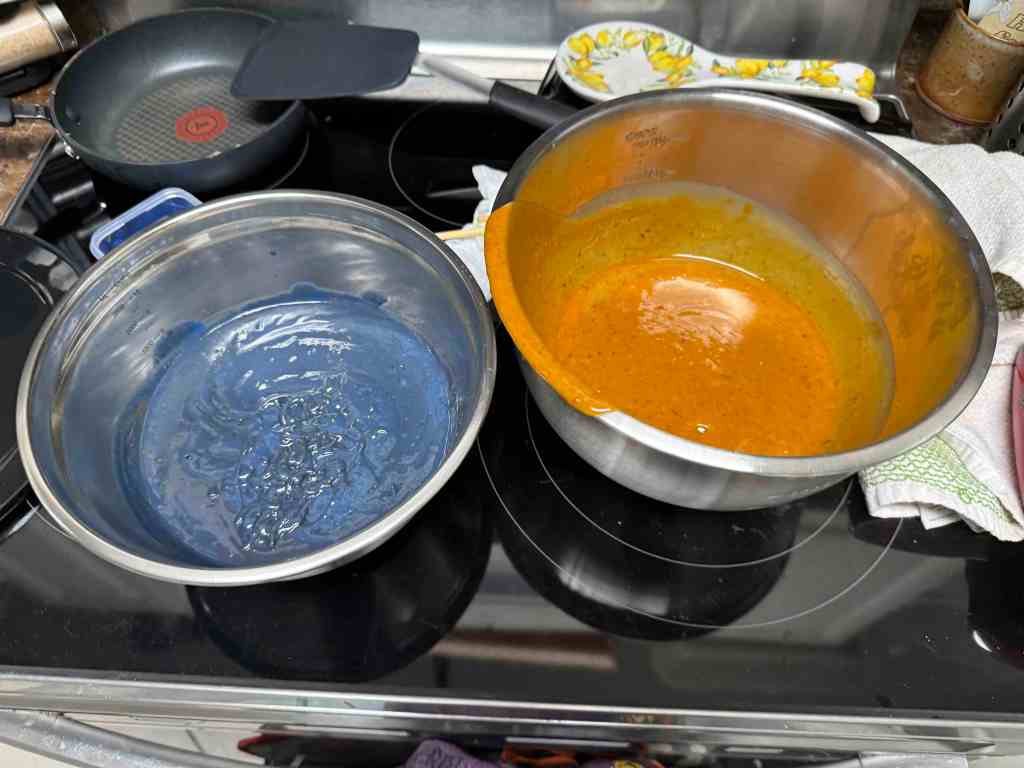
Next, you can mix your oils and fats in a separate container. Our coconut oil was mostly solid at room temperature, so a couple of blasts in the microwave brought it down to a liquid. It combines easily with our olive and almond oils. Everything will then look… well, like a big bowl of oil.

If you’re planning on using any colors or pigments, it’s probably a good time to get them ready. You can use a soft oil (like almond) and just swirl them around. I reserved some of my initial almond oil from the recipe and used a ratio of 1 tsp of pigment to 1 tbsp of oil. Lots of cool things can act as natural colorants. Here I’m using some turmeric and some blue mica powder.

Now you’ll need to have everything else ready to go, including any essential oils or fragrances you want to add. It’s time to pour the lye water into the fats! You can blend everything together with a stick blender until it forms batter. I added the remainder of my tea leaves along with some grapefruit essential oil and blended until it was all incorporated. Since I’m making a two-color soap, I then then separated the batter into two bowls — one for the blue mica powder and one for the turmeric.
Next step… pour! You’ll need some molds for this, obviously.
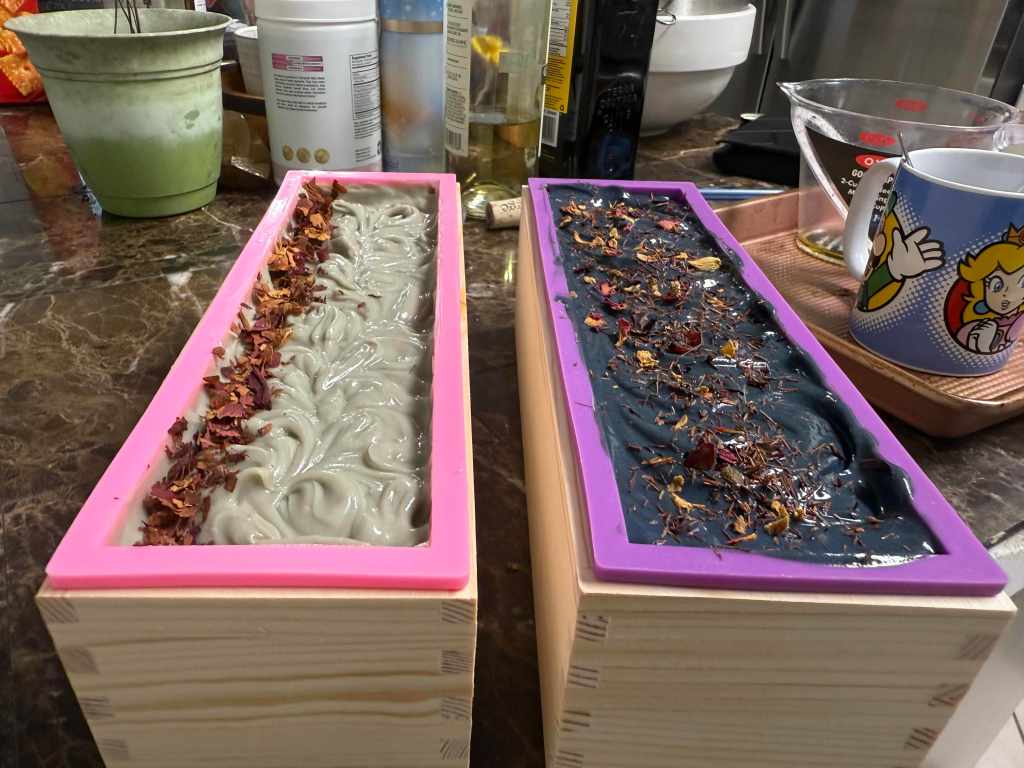
The left mold is a rose soap that Selene made. The right mold is mine.
After the soaps have been poured, you’ll need to slam the molds down on the counter a few times. This step helps to release any pent up anger, while simultaneously causing the soap batter to settle.
And then you wait. If you’re a patient person, you can just set your molds aside and come back to them in a few days. But if you’re like me, you’ll be poking at them every 2-3 hours. At some point, your soap will be solid enough to unmold — perhaps after 48 hours, but it may take longer depending on your recipe.
Once you’ve unmolded the soap, the only thing left to do is cut it… and… wait more. Most soap needs to cure for about 4 – 6 weeks before you use it.

And then… if you manage to make everything look really pretty like Selene did, then you might come up with something like this…
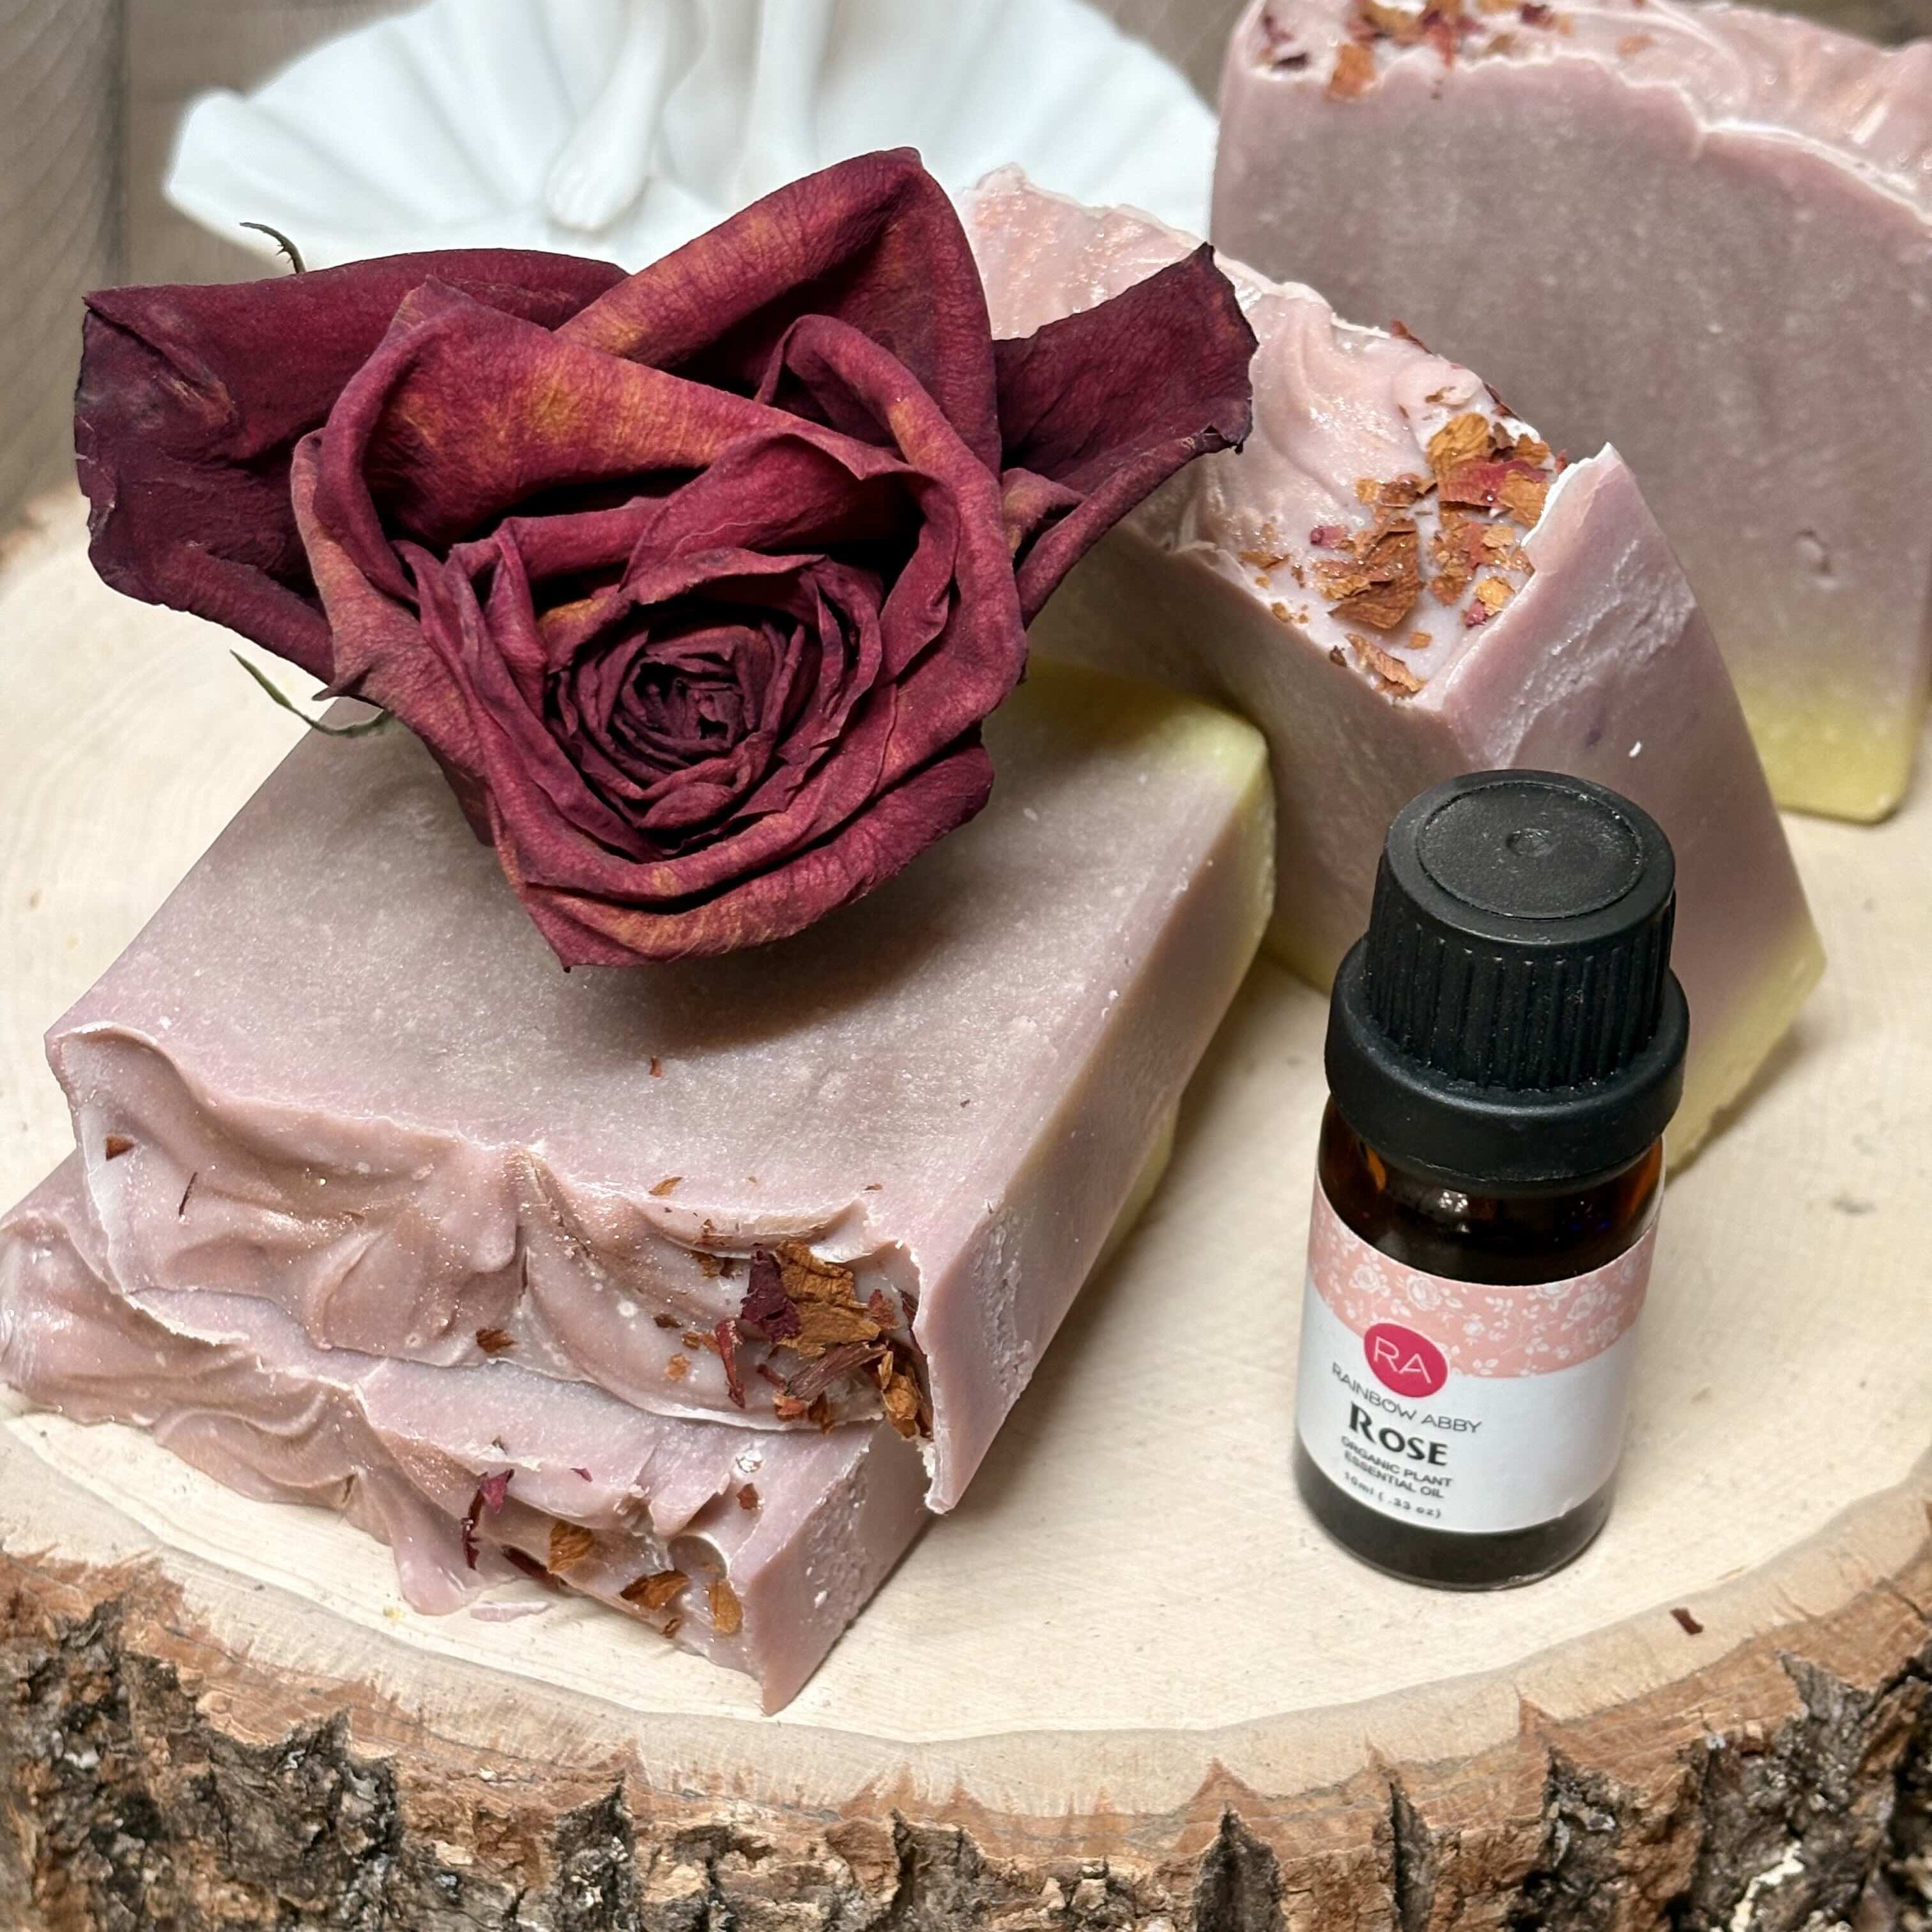
Selene’s Aphrodite Rose Soap
My wife’s magnificent photography has since left me feeling quite inadequate about my own.
Why this is Alchemy…
At its simplest, Alchemy deals with separating and recombining things, right? Usually we talk about salt, sulphur, and mercury being purified. Well… those three principles are present here in making soap.
First of all, check out this visual of the chemical reaction that I grabbed from BCA Chemistry.

Consider the following:
- Salt: Fatty Acid Salt (it’s literally in the name, y’all)
- Suplhur: Usually an oil or something unctuous… which we have plenty of here
- Mercury: Volatile and fluid… much like our lye water
This is a chemical reaction. We’re literally separating molecules and recombining them.
Conclusions
We’ve really only scratched the surface of making soap. Go get yourself some equipment and the ingredients, try it out once or twice, and then meet me back here. We’ll talk about it more.
Oh wait, before you go, let me tell you one last thing. I linked some Amazon products in this post. They’re affiliate links, so if you use one of them to make a purchase, Amazon will pay me a tiny commission. That’s all. But seriously, don’t forget the gloves. If you burn yourself, don’t blame me.


Leave a comment