
Making a Brigid’s Cross is a fun thing to do around Imbolc, but you can really do it at any type of year. The pattern might look a little intimidating at first, but once you understand the simple motions involved, it becomes really easy.
I’m going to show you how to make one and tell you a little bit about the story behind it.
But why show you boring, flat images when I can show you a video?
Of course, if you would just rather read… then I’ll give you step by step instructions here as well.
But first… the history!
The Story
There’s a fun little story behind this, but of course, it changes depending on who is telling it. I’ll give you the short version.
According to legend, St. Brigid was invited to the deathbed of a pagan king… or a lord, or… some important dude who wasn’t a Christian. She gave him words of comfort. As she was speaking, she picked up pieces of rushes that were lining the floor and weaved them into the pattern of a cross. The king was so moved by her words that he asked to be baptized as a Christian right before he died.
And so… St. Brigid and her cross-shaped pattern of rushes were forever immortalized.
Did any of that really happen? Probably not.
Brigid of Kildare might not have even been a real person. Or maybe she was a real person, but the events of her life were ridiculously exaggerated to justify sainthood… You see, having a “Saint Brigid” in the Catholic church made it easier for pagan worshippers of the goddess Brigid to convert to Christianity.
But since all of that happened like 1000 years ago and the actual accounts are spotty, we’ll never really know what’s true or not.
So… believe what you’d like!
The Solar Cross
Real quick, let’s examine the differences between the Christian Cross and the Solar Cross.
Christian Cross:
- Notable traits: one elongated leg, represents Jesus and the crucifiction
- Usage dates: possibly as far back as the 2nd century, but more likely the 4th century
Solar Cross
- Notable traits: four equal legs, frequently surrounded by a circle, represents the sun
- Usage dates: bronze age or earlier
Unlike the Christian Cross, which didn’t exist 2000 years ago, the Solar Cross was used since ancient times — like, really ancient times. And it was used all over the world.
Here are some random examples of artifacts bearing this symbol…

Amber sun cross, found in Denmark, dating to the Nordic Bronze Age. Photo by Roberto Fortuna and Kira Ursem, CC BY-SA 4.0 via Wikimedia Commons

Ornamental pins, found in Switzerland, dating to the first half of the 2nd millennium BCE. Photo by Dbachmann, CC BY-SA 3.0 via Wikimedia Commons

Wheel pendants, found in Zurich, dating to the second half of the 2nd millennium BCE. Photo by Dbachmann, CC BY-SA 3.0 via Wikimedia Commons
I believe the above images sufficiently prove my point.
It is far more likely, in my opinion, that a Brigid’s Cross is a solar symbol, especially when considering that the Goddess Brigid, herself, is a solar deity.
But again… believe what you like!
Material Types
Traditionally, Brigid’s Crosses are made out of River Rushes, which are plants that grow grass-like leaves with rounded stems. That’s all well and good if something similar grows near you… but I’ve never been able to find anything like that nearby. What I’ll be using is wheat. In the past, I’ve also made them out of corn husks and palm fronds, but you can use pretty much anything that is long and bendy — even pipe cleaners.
And if you really don’t have anything, you can just buy some wheat off of Amazon.
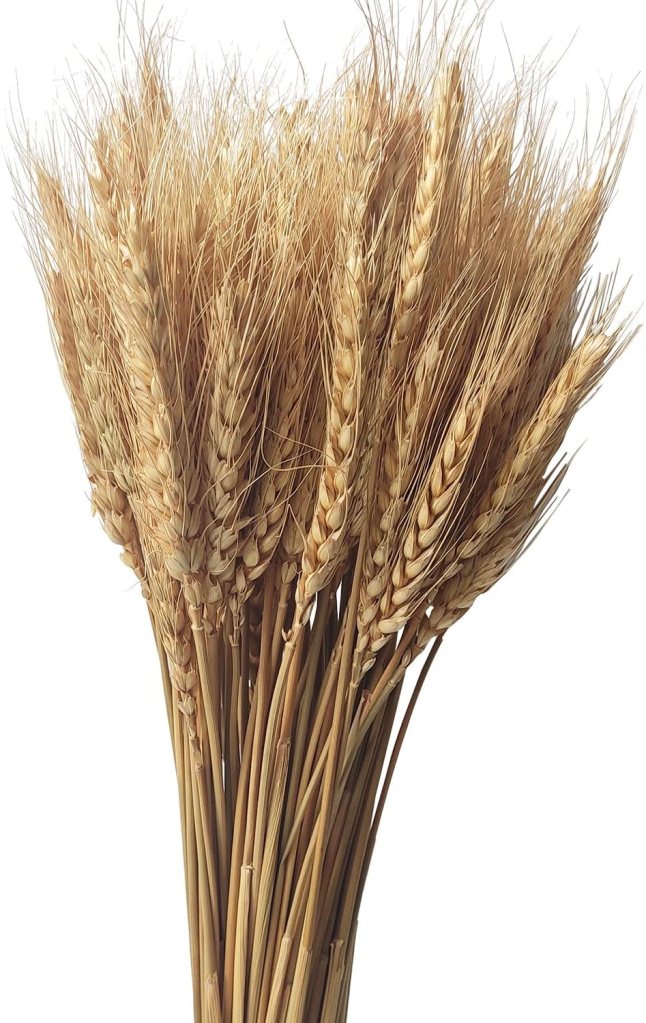
Yes, you can buy wheat stalks on Amazon.
If you do end up using any sort of dried material, you’ll probably want to soak it in water for a few hours (or perhaps overnight) to make it more pliable.
Okay, let’s get to the weaving…
Instructions
Step 1 – The First Piece

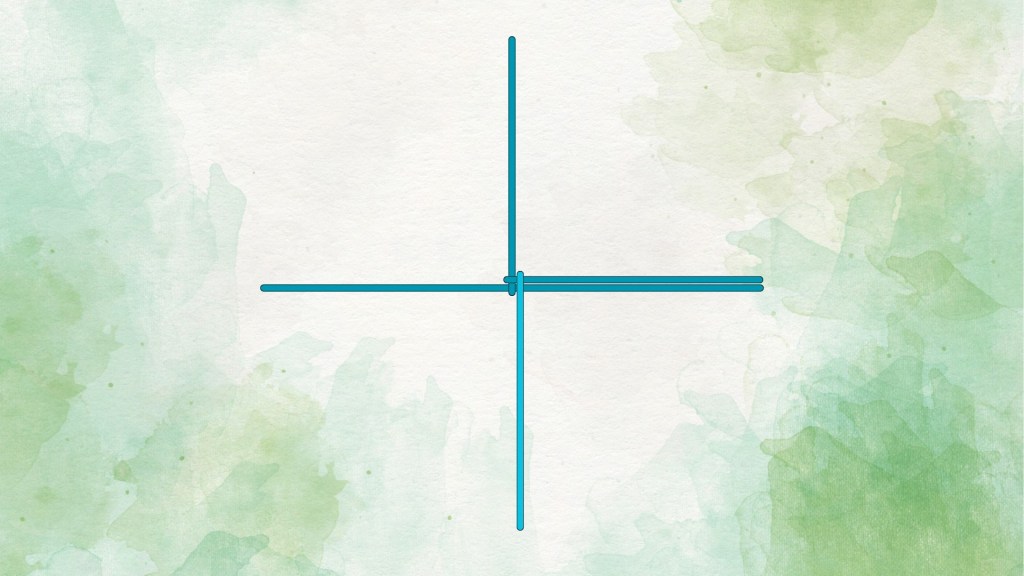
Take your first piece and point it straight up and down, as if it was running between the North and South points of a compass.
Step 2 – The Second Piece

Bend your second piece in the middle, then wrap it around the center of the first. It should be sticking out to the right hand side (or to the East if you want to continue the compass metaphor).
Step 3 – The Third Piece

Bend your third piece in the middle, then wrap it around the second. It should be pointing downwards (or to the South). Tuck it gently toward the center. Get used to this motion because you’re about to repeat it about 20 times.
Step 4 – Rotate

Keeping light pressure on your third piece, rotate everything 90 degrees counter-clockwise.
Step 5 – The Fourth Piece
Bend your fourth piece in the middle and wrap it around the third. It sound be pointing downwards (or to the South). Tuck it gently toward the center. Your Brigid’s Cross should now have 4 legs (or arms… or branches… call them whatever you want).
Step 6 – Rotate

Rotate everything 90 degrees.
Step 7 – The Fifth Piece

Bend your fifth piece in the middle and wrap it around the fourth. It should be pointing downwards (or to the South). Tuck it gently toward the center.
Step 8 – Repeat Steps 6 and 7

Continue repeating steps 6 and 7 until you’ve added about 20 pieces. The basic motion is rotate, bend, wrap. To avoid any confusion, the new piece you add will always be pointing down. You can continue adding more and more if you like, but I find that the center pattern has sufficiently started to form after approximately 20.
Step 9 – Lock (optional)

If you’d like to add a “locking stitch” to your Brigid’s Cross, count back two pieces and push that one back out a little bit — just enough so that you can thread your final piece through the back of it (the part that is closest to the center). When you add your final piece, you’ll push it through this hole, then tighten everything again gently. It’s way harder to explain in words than it is to actually do, so hopefully this picture provides you with a sufficient understanding.
Step 10 – Tie the Ends
Wrap some twine or elastic around each of the legs and tie it. If you used any type of material that was soaked in water, make sure it’s tight. As it dries, it will shrink a tiny bit… and you don’t want your knots slipping around on you.
And… voila! You’re done.
Conclusions
Regardless of what story you believe, making a Brigid’s Cross is still a fun activity. You can do it any time of year, but it’s especially nice to do around Imbolc. They are frequently hung around the house to ward against evil, protect from fires, or bring in blessings.
And most importantly, they look cool.
Brigid herself would be proud of the effort you’ve made today. One quick thing to point out… there are lots of links on this page. Some of them link to Wikipedia. Some of the link to elsewhere on my website. And some of them are Amazon links. If you use one of the Amazon links to make a purchase, they might just pay me a tiny commission. There, now you know.


Leave a comment