
I love the Elder Futhark runes. Actually, I just love runes in general. You can use them for divination or to augment just about any other form of magick. You can summon runes in the world around you, trace them in the air, or carve them into objects. In my Guide to Shielding, I even shared how I create stationary wards to protect my home with runes.
There’s so much to talk about here! There’s history, literal meanings, magickal uses, and divinatory meanings for an entire alphabet (actually, multiple alphabets)! But to kick things off, we’re going to get straight to the point and be super practical. One of the simplest ways to use runes is to carve, paint, or draw them onto an object like a woodcut or stone.
Supplies

If you’d like to follow along with this, you’ll only need a few things:
- Rock, wood slice, or anything else that can be painted or carved
- Paint (paint pens work extremely well for this)
- (optional) Some sort of carving tool. Dremels or other rotary tools work well.
- (optional) A pencil. It helps to trace out your design prior.
If you’re using something like wood or leather, you can also burn the runes in with a wood burner. These can be purchased for cheap at a crafts store — I have a pretty great one with variable settings and tips that I bought online.
The point is don’t feel limited by method or medium. You just need to get the runes onto an object — how much you enhance that with complication is up to you, but as I said I’m going to keep it rather simple today with paint and a rock.
Okay, now that we’ve gotten all of the “you can use anything” stuff out of the way, let me tell you my personal preferences. Smooth river stones are the best — something like this would do nicely, but you’ll probably find a better deal at a local hardware store… boxes of rocks can be expensive to ship. You can get them in large sizes, but I prefer smaller ones (about 2”). If you happen to live in an area where you can find something like this in nature, then go for a hike and get your supplies for free!
I also like burning wood slices. My own personal rune set is made from birch slices (kind of like these) that I wood burned, sanded, polished, and sealed. You can get bags of wood slices for cheap at a crafts store.
As for paints, I really really am a fan of paint pens. I like to use a rotary tool to just slightly engrave the rune into my talisman, then the paint pen lets me fill that negative space back up with color. You can use regular paint and a brush, but I’m just terrible at it.
Assuming you’ve gathered whatever supplies you intend on using, let’s get to the making!
Instructions
Step 1 – Decide on your intention and choose a rune that fits
I’m not here to give you all the rune meanings today. That would be it’s own lesson. For now, you could pop on over to Michael Branscáth’s page, Sceadugenga. Alternatively, Google can provide those answers to you. There’s tons of resources for rune interpretations available, but If I publish something like that in the future, I’ll be sure to update this page and link it. For sake of simplicity, I have provided a few brief suggestions, which can be found closer to the bottom of this page.
So what type of runic talisman should I make for our example walk-through? Hmm. I have a bunch of these things littered around the house, but you know what? Selene needs one in her car. I’ll make a car protection talisman. I’ll use the rune “Raidho.”
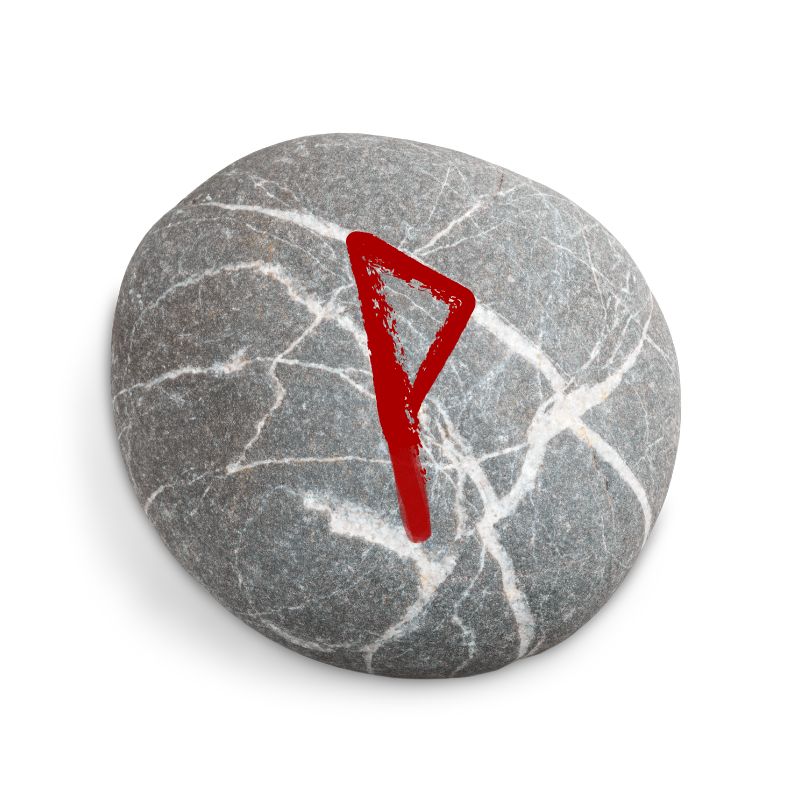
Step 2 – Trace a rough outline of your rune in pencil
This step is optional, of course. If you feel pretty confident in your ability to paint or carve straight lines right off the bat, then go ahead and skip step 2 and step 3. I respect your devil-may-care attitude, but my hands are not quite that steady.

Pencil outline of my Raidho rune

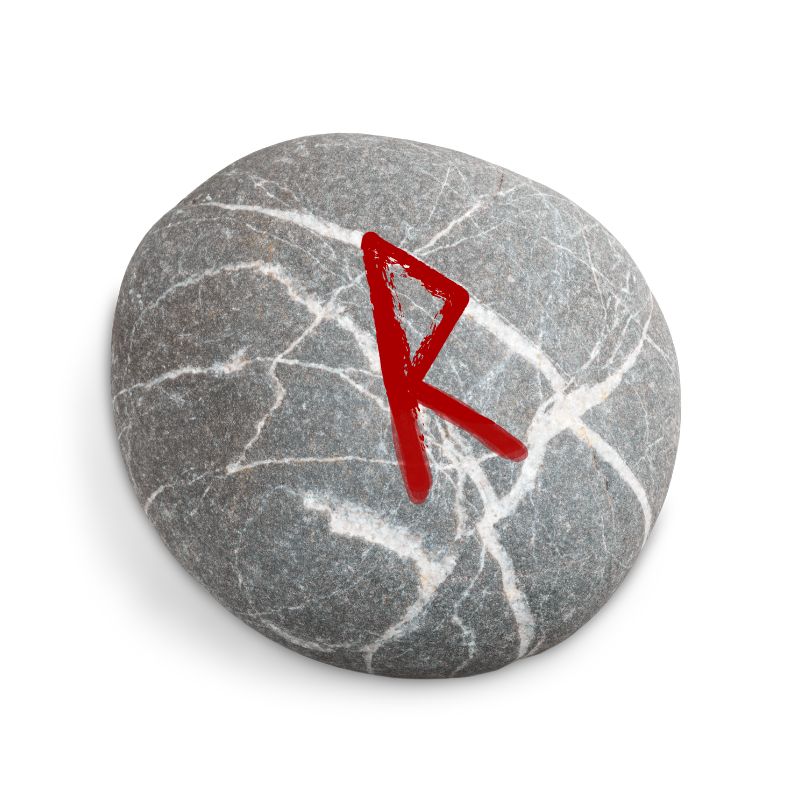
Carved outline of my Raidho rune
Step 3 – Carve a shallow guide that follows your pencil
Just like the previous step, this is also optional. Carving the rune just gives it a little more flair. I personally like to get just below the surface of the rock — I feel this gives the paint a place to sit securely. It also makes the whole thing look a little more “professional.” I do all of this with a rotary tool.
Step 4 – Paint your rune
Finally, a little contrast! I’ve read that traditional colors for runes are red, blue, or green… but feel free to use whatever color you have. I’ve made many talismans using metallic gold paint and I think they look fantastic.
This can be a fun opportunity to use some color correspondences. For instance, if you’re making a talisman for joy, you might choose the color yellow (which in many systems is related to happiness).
For my example “car protection talisman,” I used red because of its associations with the root chakra, therefore the physical world, and since most cars exist within the physical world, it… no, no… I chose red purely for aesthetic reasons. I just thought it looked the best. “Looks pretty” is a valid magickal basis in this case.

My painted Raidho rune
Let your paint dry for a bit. Paint pins are usually dry to the touch in a few minutes.
If you really want to “perma” this — as in, make it a thing that will last forever — you can do a clear coat with a gloss or matte finish spray (like this). This will protect the paint from chipping. Honestly, I never do this because they’re so easy to remake. It took me approximately 5 minutes from start to finish. Taking pictures and writing this article were actually the longest parts of the process.
Step 5 – Breathe life into your rune
The last… and most important step! Breathe life into your rune!
In this step, you’re activating the rune with your breath. And remember, breath is a fluid condenser — a gaseous substance capable of conducting incredible amounts of energy. You can also think of this as “waking up” your rune.
We’ll talk more about this in just a minute, but for now… let’s consider a few alternative talisman ideas.
Want to hear about future posts? Subscribe to get notifications delivered straight to your inbox.
Example Ideas
Wunjo – for happiness
Algiz – for protection
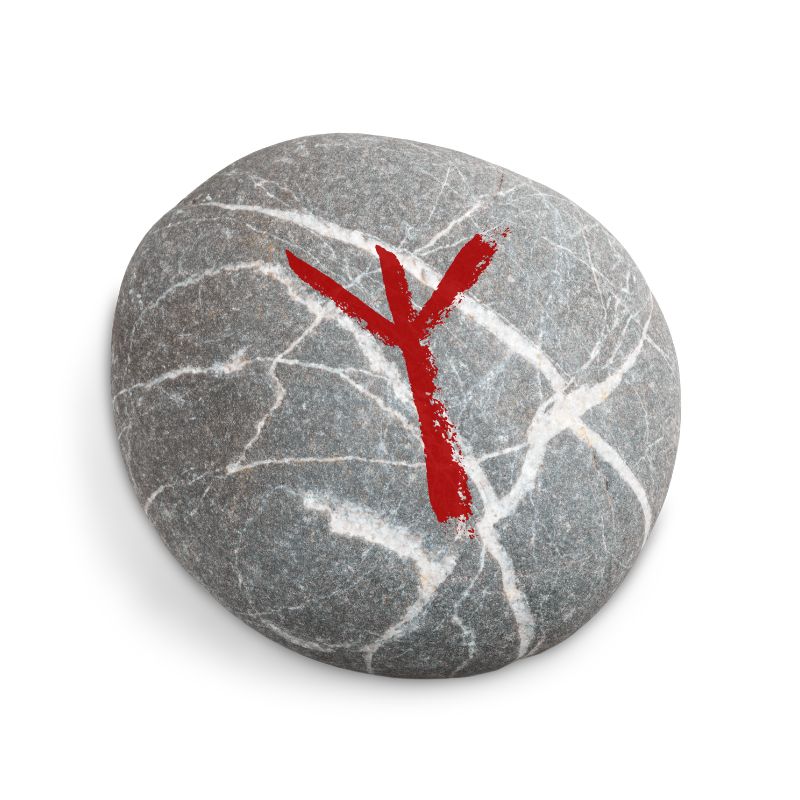

Gebo – for togetherness
Raidho – for transportation

Berkana – for fertility
These are overly-simplified explanations, but that should get you started with some ideas. There is no limit to what you can accomplish using the runes. Even more possibilities are unlocked when you combine multiple letters into a bindrune, but that’s a topic for another day.
Now that you’ve read through the instructions and seen some examples, if you want to watch everything being done in a 60-second video, you can check out this little short I made for YouTube.
Visualization
A little visualization goes a long way here and is really what transforms this undertaking from a mundane art project into a magickal talisman. There’s a number of different ways to accomplish this, but I’ll tell you my preferred method.
When you actually paint your rune, visualize a beam of white light emanating from your solar plexus and extending to meet the tip of your pen or brush. This light will trace the rune along with your hand movements and imprint some magick into your talisman.
The final step, of course, is breathwork to “wake up” the rune you have just formed. Inhale deeply, bring your object close to your lips, and exhale the name of the rune in one full, whispered breath. Repeat this three times. With each breath, visualize the rune glowing brighter and brighter until it is glowing like a sun on the third time. Don’t just say, like, “raidho raidho raidho” all from the same inhalation — these are powerful symbols and you need to put a little oomph into it.
Further REading
If you’d like to learn more about the Elder Futhark runes, I have read these books and find them to be generally recommendable.
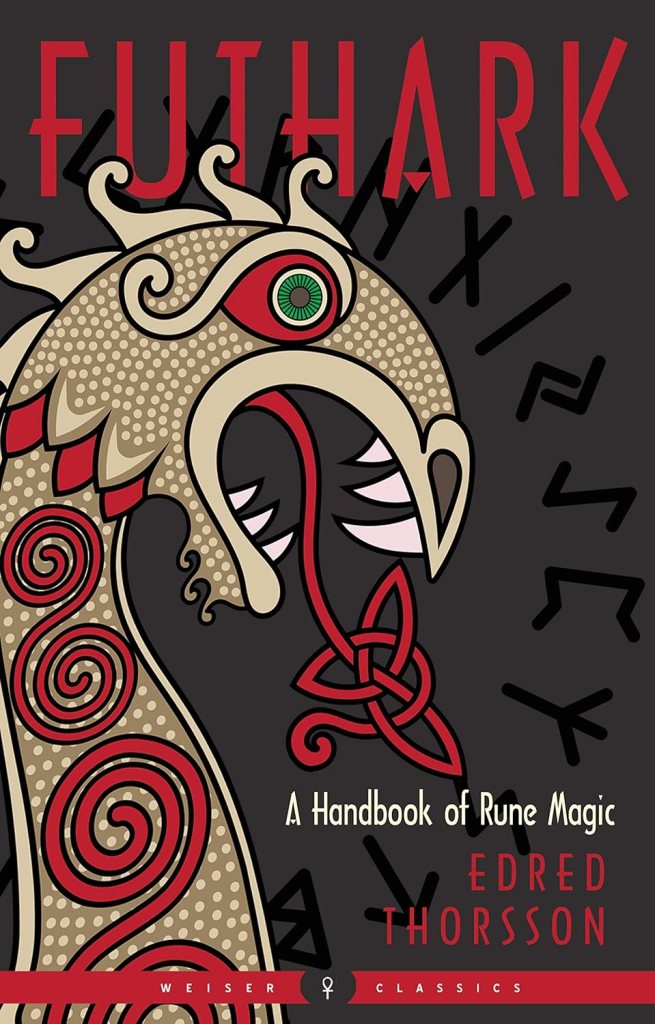

Again, there’s plenty of resources out there for learning the runes. The important thing is that you get started and familiar with using them yourself from a practical, hands-on approach.
Conclusions
I call these “simple” rune talismans because they only use one rune and are so quick to make. Just because they’re simple doesn’t mean they’re weak. Don’t doubt their effectiveness!
When Selene and I have taught classes on the Elder Futhark runes, we’ve often brought a big box of rocks and paint pens so everyone can make their own talisman. There’s just something to be learned and experienced from using the runes in this way… and it’s something everyone can do regardless of their experience level.
I’ll be talking about runes more in the future. Who knows, perhaps this will even become an entire series.
Before you go, please do me a kindness and tell me what kind of talisman you would make. Alternatively, let me hear your favorite way to use the runes.
Hey, you’ve made it down to the end. I’m so proud of you. You probably noticed that there’s a lot of links in this post. Most of them are Amazon Affiliate links. If you use one of those links to make a purchase, Amazon pays me a small commission. I’ve gotta tell you though, most of the things that I linked to can be purchased for cheaper at your local hardware or crafts store, so be sure to shop around. So like, this was both fine print and practical shopping advice. Anyway, it was a pretty rainy day today. There’s usually a bunch of tree frogs that start singing right outside our window at night — it can get pretty loud, but it’s kind of soothing. They’re not singing today for some reason. I wonder if there’s any correlation between precipitation levels and frog vocalizations. It really makes you wonder, you know?


Leave a comment